how to edit landscape in photoshop cs6 | photo effects [ Episode 9 ]

[ad_1]
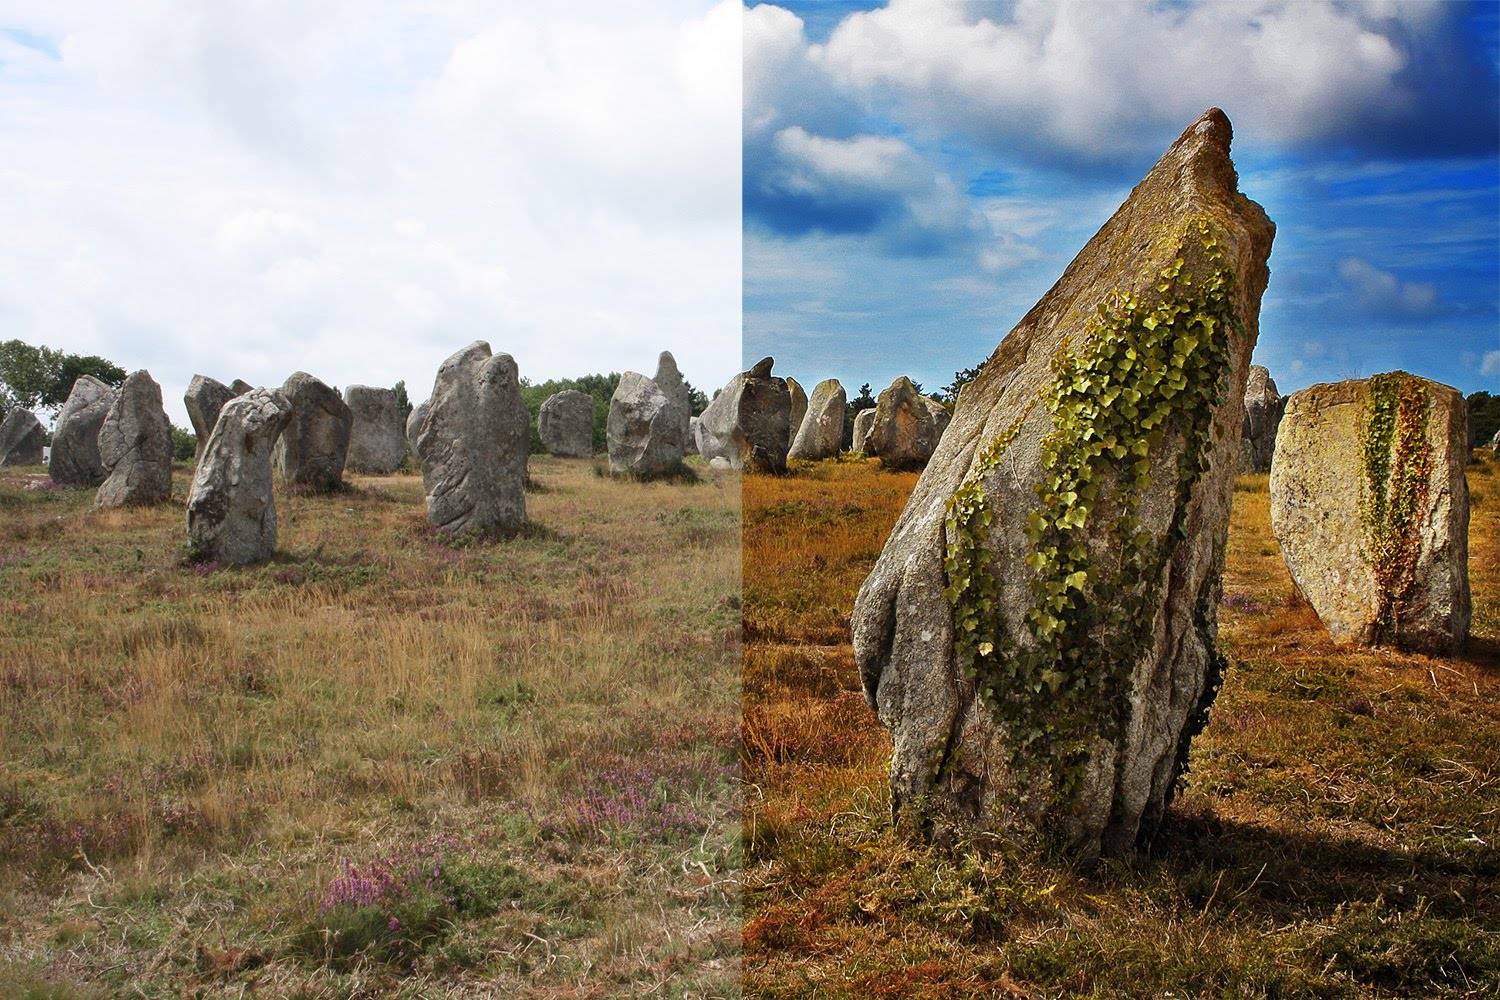
this landscape editing video explains how to recover data from a blown out photograph and also how to make them really vivid and colorful with help of photoshop.

===================================
subscribe at ►
===================================

Facebook:
twitter:

DOWNLOAD IMAGE ►

previous video ►

Comments

13 responses to “how to edit landscape in photoshop cs6 | photo effects [ Episode 9 ]”

  1. Mary Jane Bien Avatar

    Can someone help me, I'm lost a 5:02, after CTRL C, what brought back the previous layers?

  2. Faisal Ramadhan Budiono Avatar

    it really great tutorial, subscribed!

  3. JENNSPOV Avatar

    you are amazing

  4. Georgina Ellmann Avatar

    thank you for your tutorials.

  5. Sandra Versteegen-Charmant Avatar

    Thank you once again for a good and fun tutorial!

  6. Muhammad Wallid Avatar

    how about a diffrent photo.. can i use a same trick to my photo ???

  7. BatHam LEGION Avatar

    Awesome job man,tweeked some things here and there and got a beautiful image in the end!!

  8. Ken Lee Avatar

    Hi, I need help. Do pardon me as I'm a beginner at PS and I'm using PS CC. I was following your above tutorials and got stuck at the step where after you did the HDR toning, you created a new layer (layer 3) and then CTL V to paste the flattened HDR image. When I type CLT V it prompted me the following message: "Are you sure you want to convert colours into and destination document with a colour profile that does not match the current RGB workspace?"

    Please let me know is there any other alternative to this?

    Thanks!

  9. shubham sanap Avatar

    you have best tutorials

  10. Josh Bassler Avatar

    Thanks! awesome tutorial! used it on some engagement pics 🙂

  11. Freestyledancer Avatar

    I love edit landescape 😉

Leave a Reply

Your email address will not be published. Required fields are marked *