How To Create a Painted Watercolor Effect in Photoshop

[ad_1]
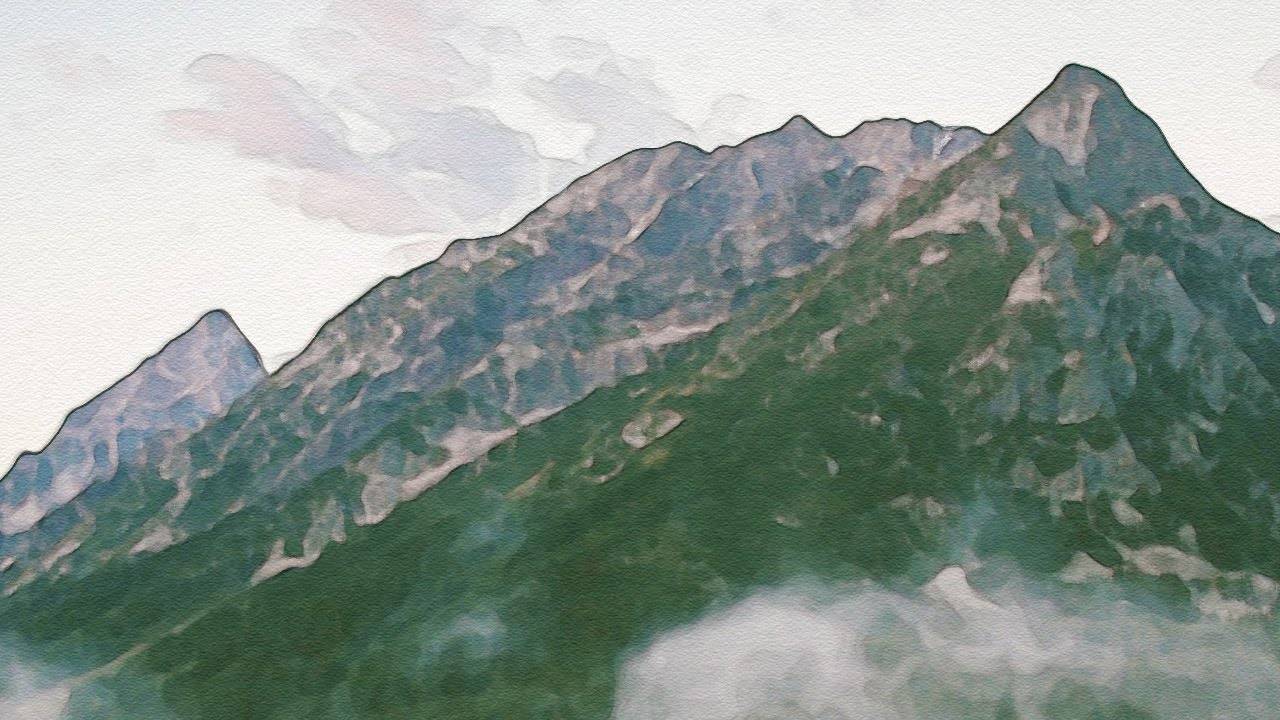
Follow this Adobe Photoshop tutorial to learn how to create a realistic watercolor effect. We’ll use a variety of filters to replicate the mottled appearance of real life watercolour paintings.

Download my free Artistic Photo Effect Actions:

Adobe Photoshop & Adobe Illustrator design tutorials from Chris Spooner of Spoon Graphics. Subscribe to learn how to create stunning artwork as I share my tips and tricks in video format.

Join my mailing list:
Visit my design blog:

Follow me on Twitter:
Join me on Facebook:


Posted

in

by

Tags:

Comments

7 responses to “How To Create a Painted Watercolor Effect in Photoshop”

  1. kex monsta Avatar

    what an ass licking faggot . LMFAO keep your whack work yidish ass liking clown !!!
    we should blow your birthdeformated face with a 12. gauge slug putooo
    JEW = SATANIC FACT !!!
    read the JEWISH BOOK TALMUD !!!
    did rabbi sucked the blood of your fresh sliced penis fag ?
    and keep your weak hiden symbols for yourself before we really go and fix your face !!!
    it really need to be fixed twat !

    keep yoru yidish lowlfie work

    btw all religiosn are satanic …

  2. oddiex23 Avatar

    Love the videos and your website because you keep it quick and easy to follow

  3. Jonnathan Griffin Avatar

    love how your tutorials are very quick and to the point! subscribing to your channel! please keep the photoshop tutorials coming!

  4. aym313 Avatar

    subscribed thank you for this tutorial!

  5. Kaushal Mehta Avatar

    Will these settings work on images of all resolution?

  6. DKSouthpaw Avatar

    cool stuff man! Why did you go with the glowing edges inverted vs using the high pass/emboss? I'm guessing because the glowing edges gives you detail but still has some blotchiness to match the watercolor look?

Leave a Reply

Your email address will not be published. Required fields are marked *